EverWatch Controller Installation
Installing the EverWatch Controller involves mounting the device, wiring it into the 12VDC system, setting up the external sensors and configuring the mobile app. This guide will step you through the hardwired device and sensor installation.
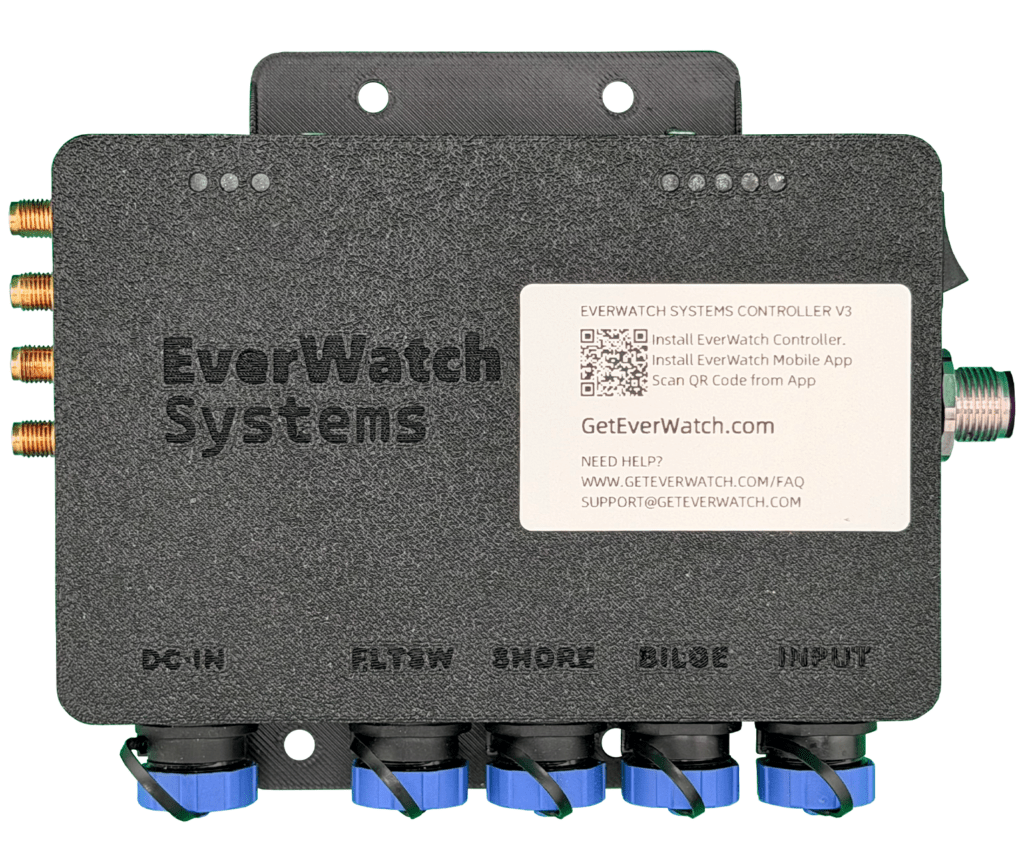
The EverWatch Controller has four mounting points. These mounting points allow for the device to be securely attached to the boat.
We suggest mounting in a clean and dry location. Many have placed the device in the engine room, bilge area or close to the helm, ideally close to a 110VAC outlet and NMEA2000 backbone connection.
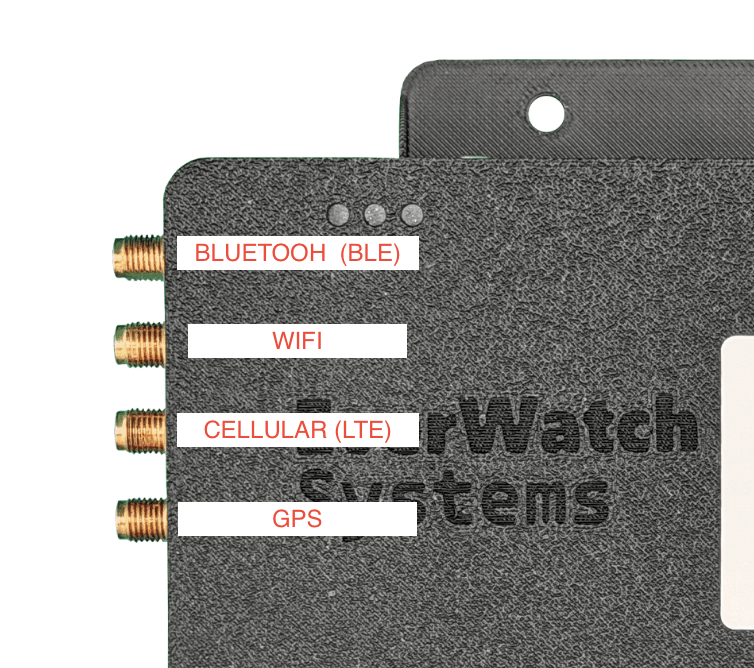
When looking at the device, on the right side is the NMEA2000 connector; on the left is the antenna connections for Cellular, WiFi, Bluetooth and GPS.
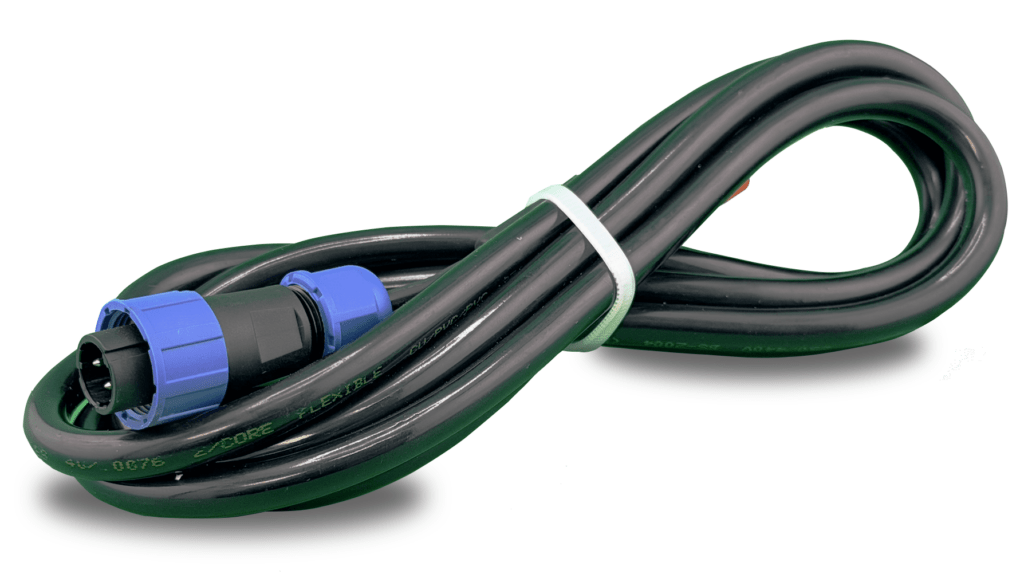
Connecting the EverWatch Controller to the 12VDC bus on your vessel is simple, using our pre-wired harness. Connect the RED WIRE to the POSITIVE. Connect the BLACK WIRE to GROUND/NEGATIVE.
DO NOT CONNECT THE POWER HARNESS TO THE CONTROLLER AT THIS STEP.
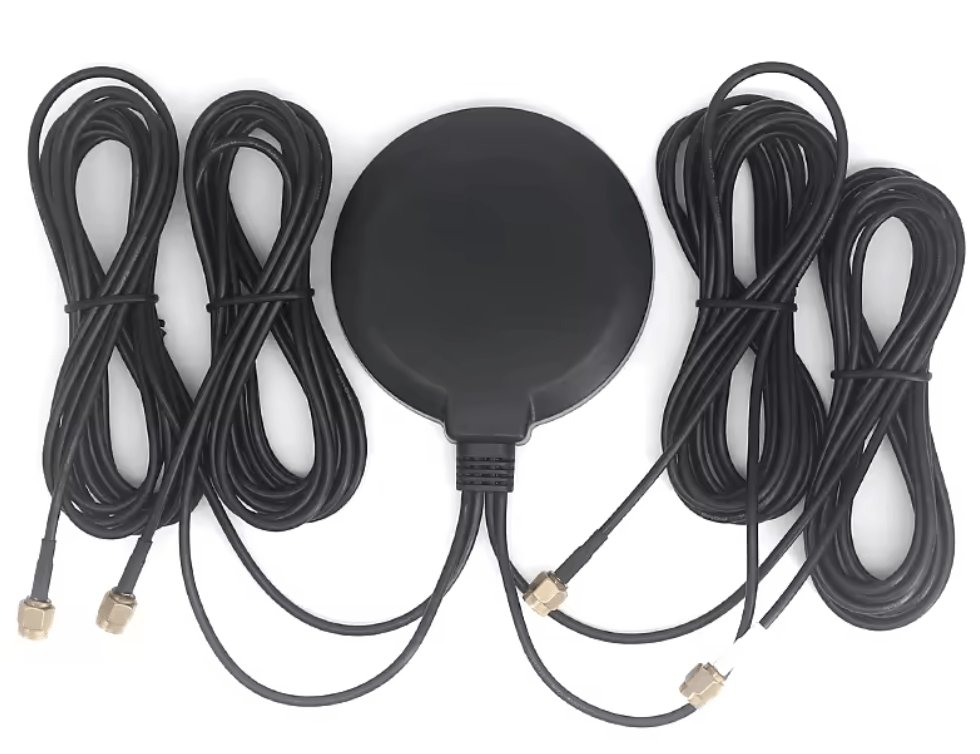
Included with the EverWatch Controller is a “4-in-1” antenna. This antenna connects to the four connections on the left of the device, from TOP to BOTTOM:
- Bluetooth (BLE)
- WiFi
- Cellular (LTE)
- GPS
Each wire from the antenna is labeled. Mount the antenna in an area which can receive signal for Cellular and GPS.
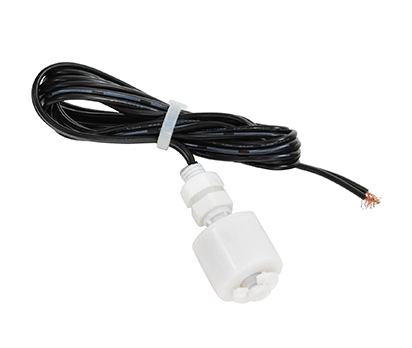
Optional: Float Switch
Included with the EverWatch Controller is a float switch. This float switch can be mounted anywhere that water intrusion should be monitored, most often the bilge.
Mount the float switch with epoxy glue (like J-B Weld) and then connect to the “FLTSW” connector on the Controller.
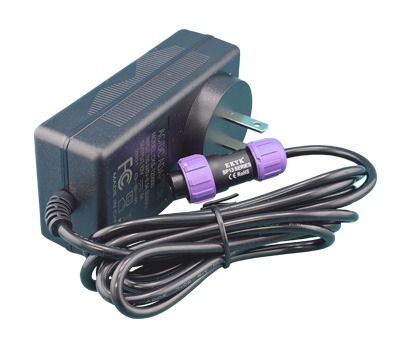
Optional: Shore Power AC Adapter
The AC Adapter can be connected to any powered 110VAC outlet on the vessel. This will monitor for shore power loss events.
Connect to the “SHORE” connector on the Controller.
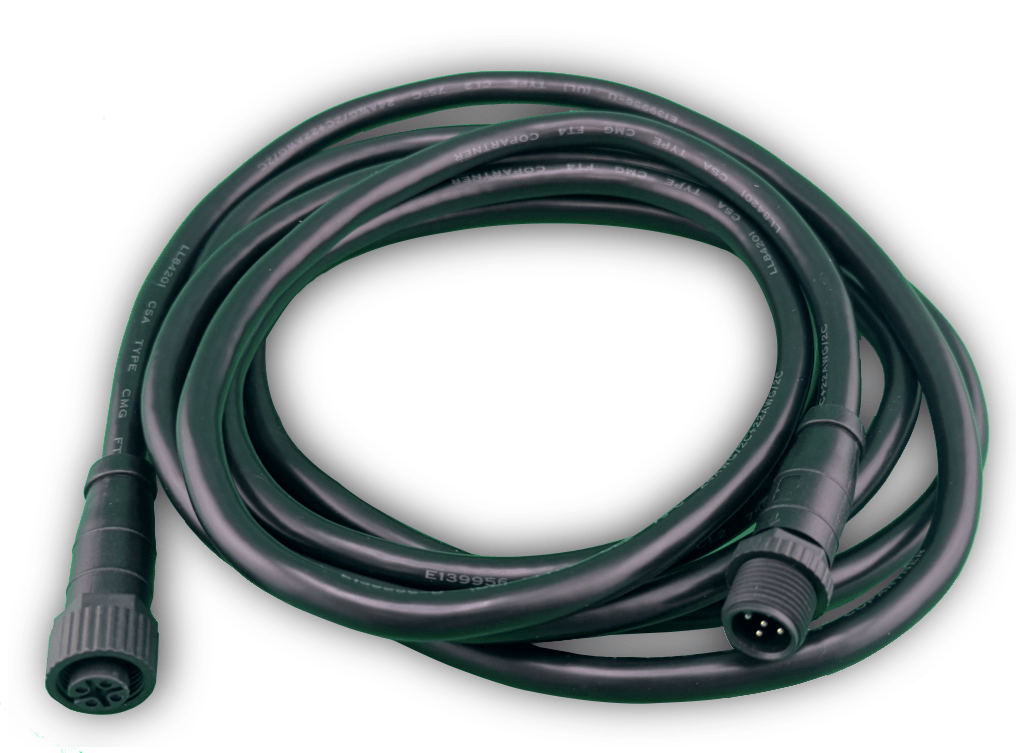
Optional: NMEA 2000 Connection
On the right side of the EverWatch Controller, directly below the power switch is the NMEA 2000 connector. Connect a NMEA 2000 cable to the backbone of your NMEA network on your vessel and the other end to the connector on the Controller.
Bilge Pump Wiring Instructions
The EverWatch Controller is able to “sense” when the bilge pump activates on your vessel. This is done by splicing a connection between the POSITIVE connection to the bilge pump switch and the Controller. This effectively sends a “signal” to the Controller when the bilge pump is manually or automatically powered on.
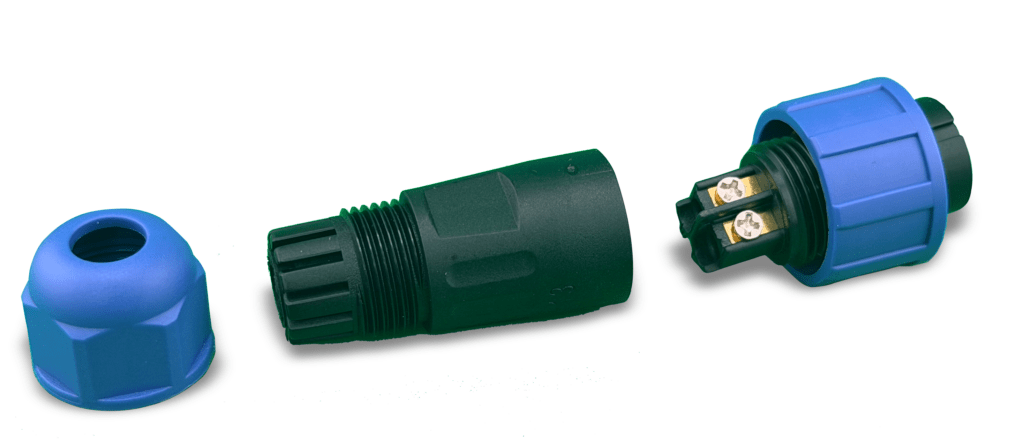
Included with the Controller are extra connectors. The connector disassembles by unscrewing.
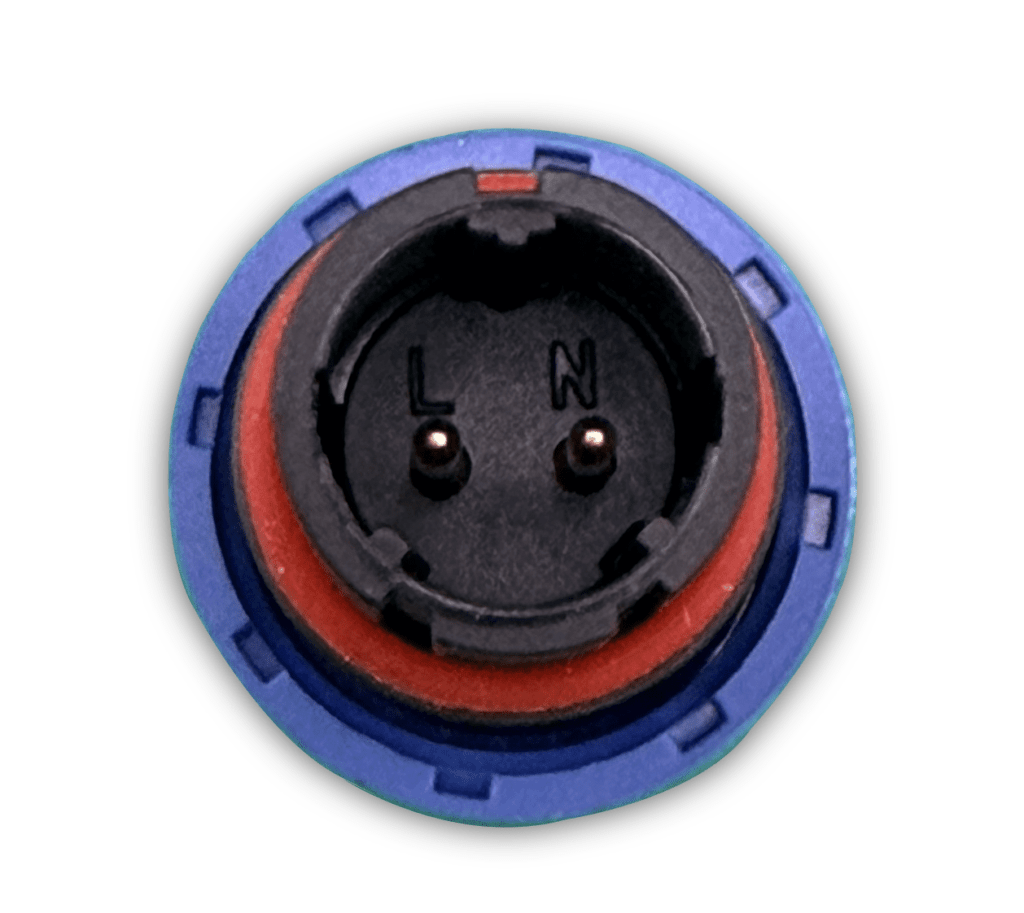
Connecting the bilge pump to the provided connector is accomplished by attaching the “N” to signal line (or “POSITIVE”) and the “L” to “GROUND” or leave unconnected.
The “signal line” would be what connects to the manual activation switch for the Bilge on the helm.
Connecting the Power & Activating the Controller
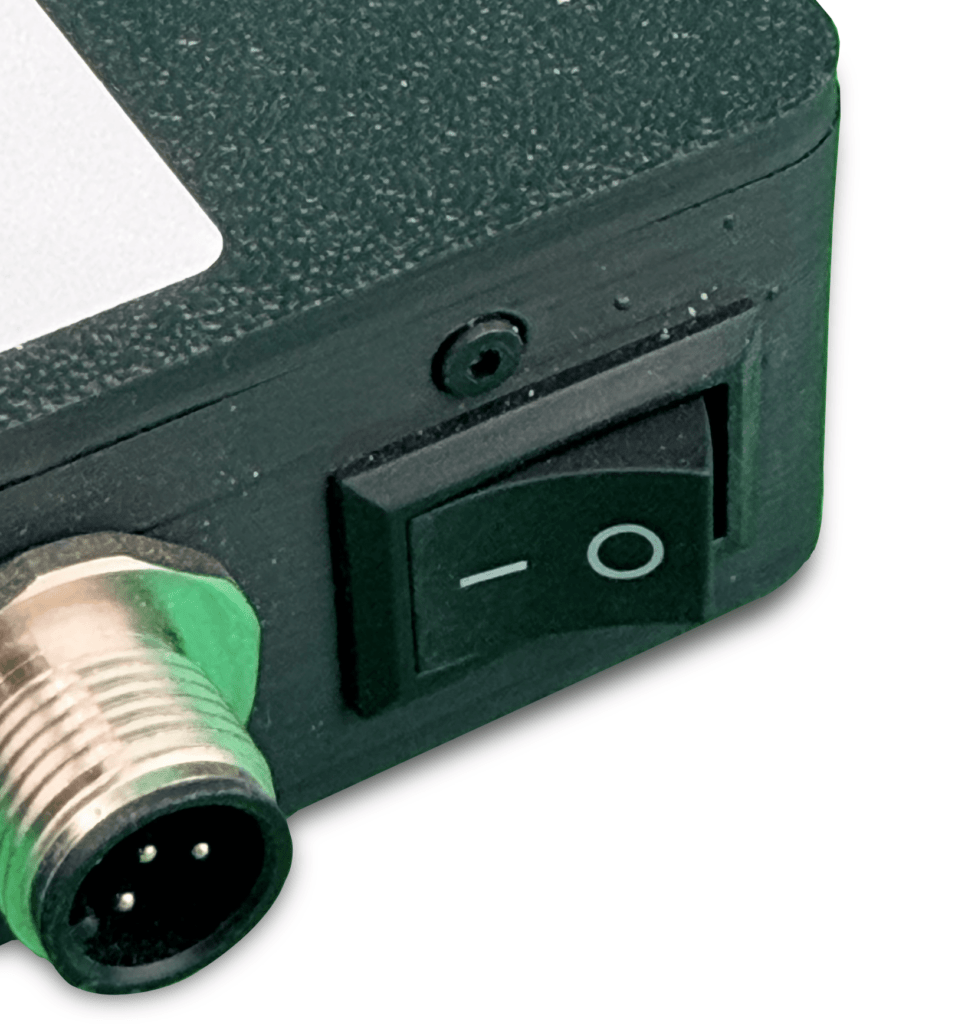
Ensure that the power switch (top right) on Controller is currently in the “0” or “OFF” position.
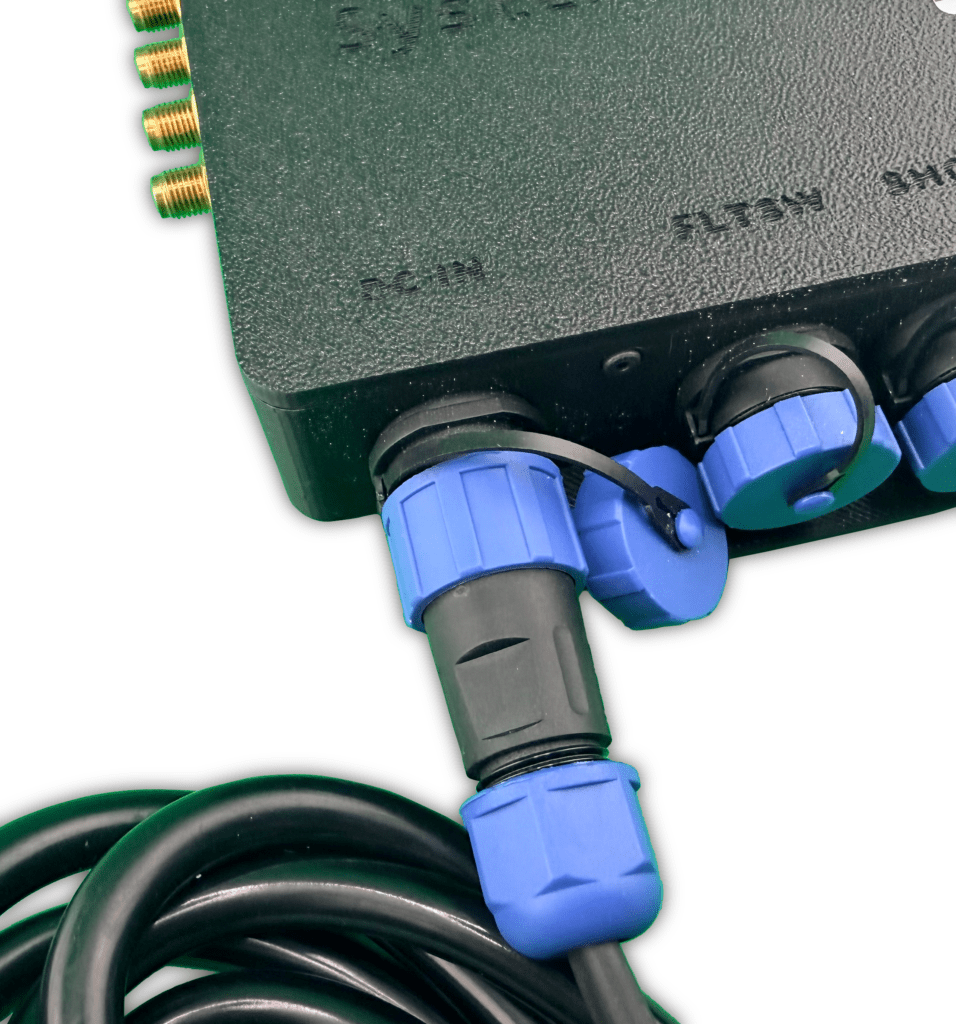
Connect the power harness to the “DC IN” connector on the bottom left of the Controller.
Ensure that the connection is screwed in and tightened fully.
Turn on the EverWatch Controller by setting the power switch (top right) on Controller to the “1” or “ON” position.
An audible tone and lights along the top of the controller will illuminate temporarily.
Activating the Controller and Synchronizing with Mobile App
If you have not already, please download the “EverWatch Systems” mobile app from the Apple or Google Play store. Click on the below icons for the respective mobile platform to download the app:

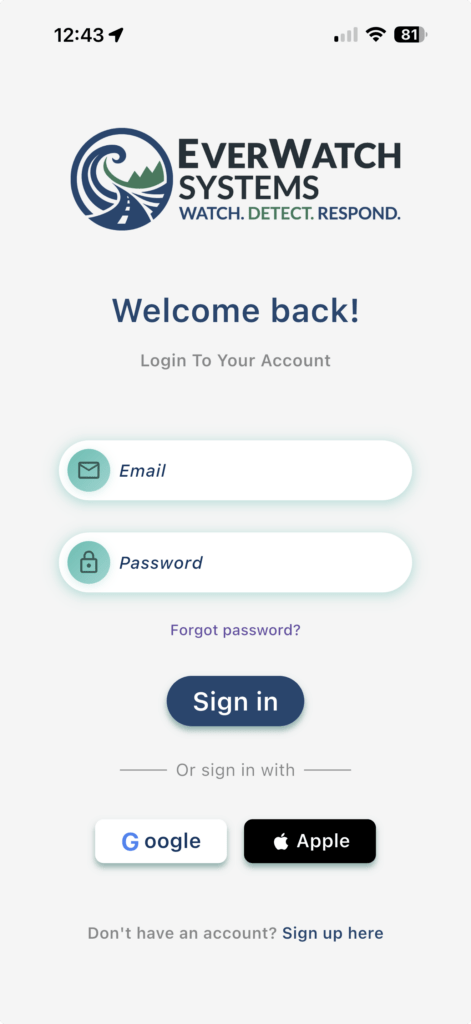
Open the app on your mobile device and then login.
If you ordered the Controller directly from GetEverWatch.com, you should have received login details automatically.
If you have not received a welcome email from EverWatch Systems, you may need to register for a new account.
Registering for a new account can be done manually, or by linking via your Google or Apple account.
Adding a New Vessel to Your EverWatch Account
NOTE: If you purchased the Controller from GetEverWatch.com your account may already have this device added and you can skip this step.
Once you have successfully logged into the app, you will need to add a new vessel.
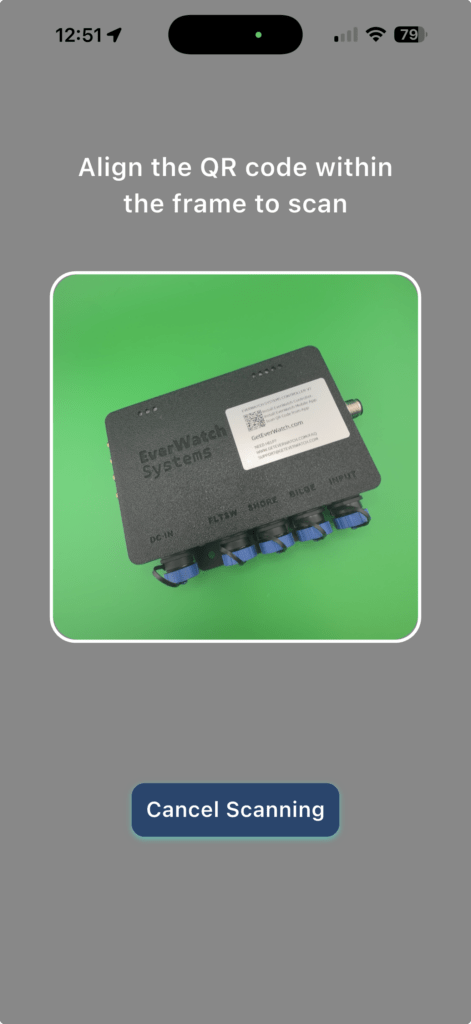
Every EverWatch Controller includes a label with device information, including a QR code.
Simply align your mobile phones camera with the QR code and allow it to scan. This will synchronize the Controller to your account.